

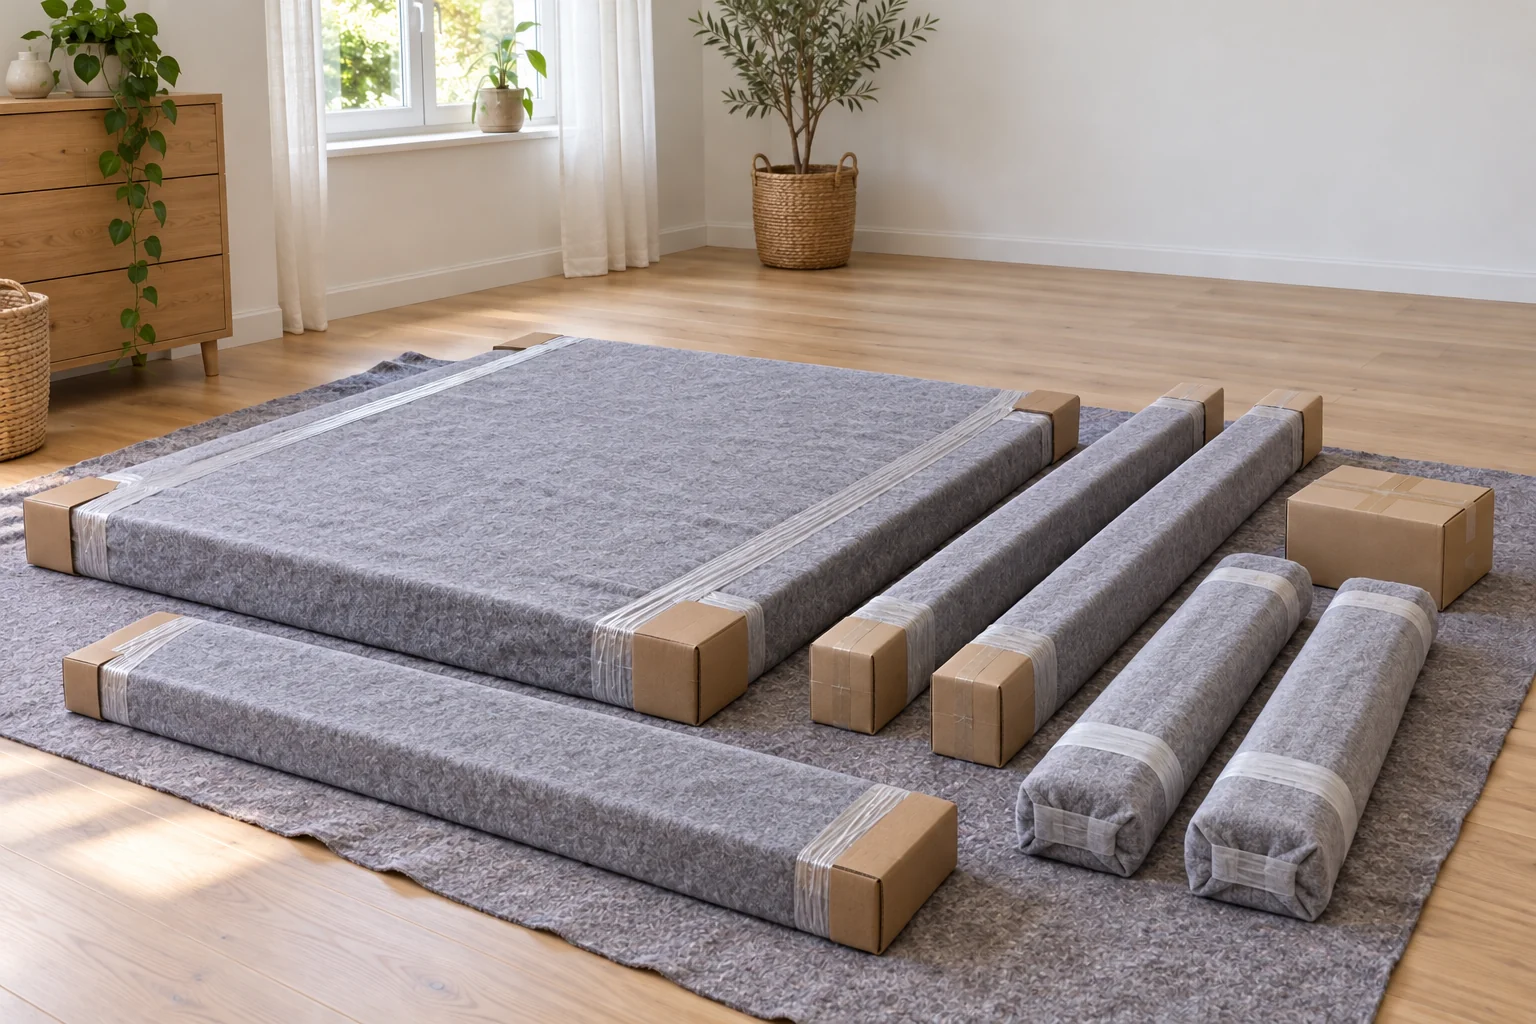
A bed packed as separate protected components

Packing

Pack your bed.
Part by part.

Remove bedding and the mattress, follow the bed instructions and label the fittings. Protect the headboard, rails and slats as separate components.

Calculate your price
About 4 min readRead the guide
Published

Remove the mattress and bedding, find the instructions, photograph the joints and dismantle only as the construction permits. Keep fittings in labelled bags and protect the faces and edges of the headboard, rails and slats. Plan reassembly before the parts leave the room.

The essentials, in brief.

  • Follow the instructions for the exact model.
  • Label fittings and parts as you work.
  • Pack the mattress separately from the frame.

01 · What you need

Gather instructions, tools and protection.

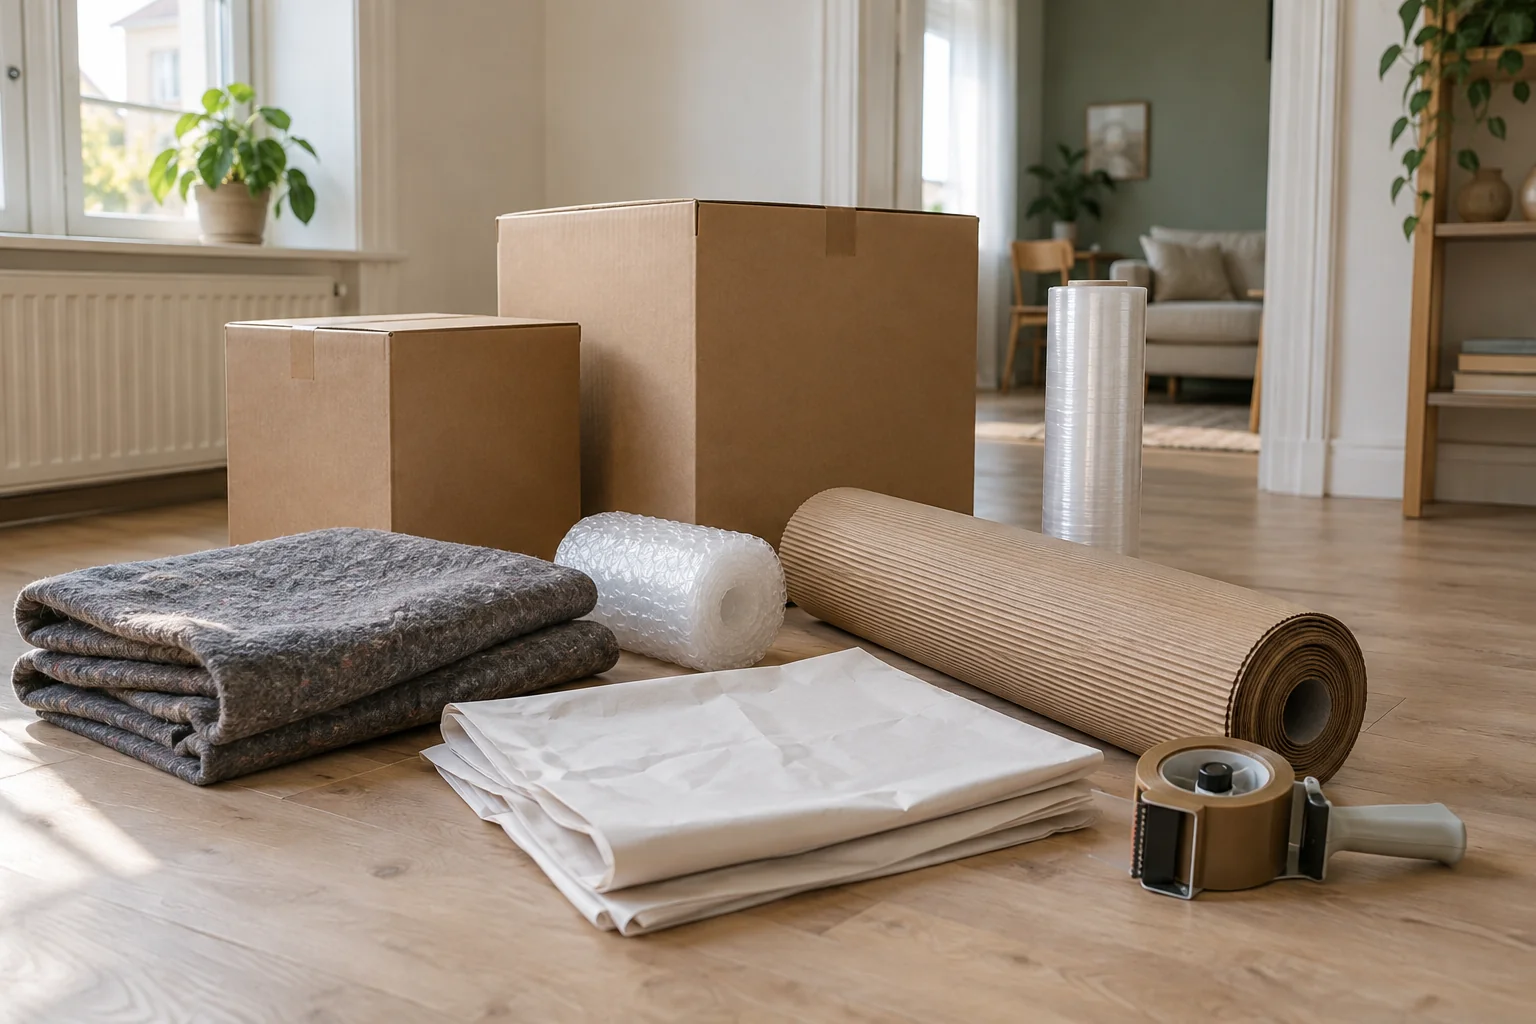
Find the instructions for the exact bed, appropriate hand tools, bags for fittings and material to protect the components. Keep your phone ready to photograph connections before loosening them. Pack the mattress separately: its needs differ from the frame.

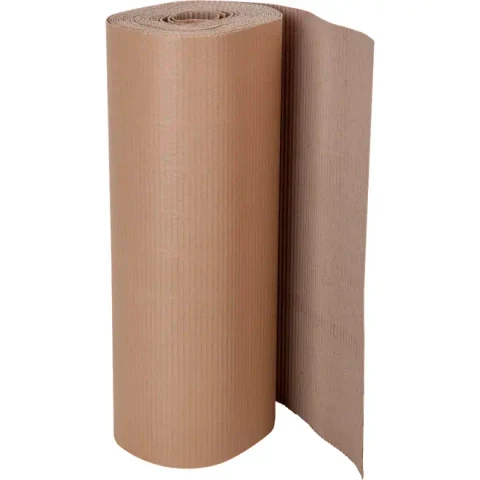
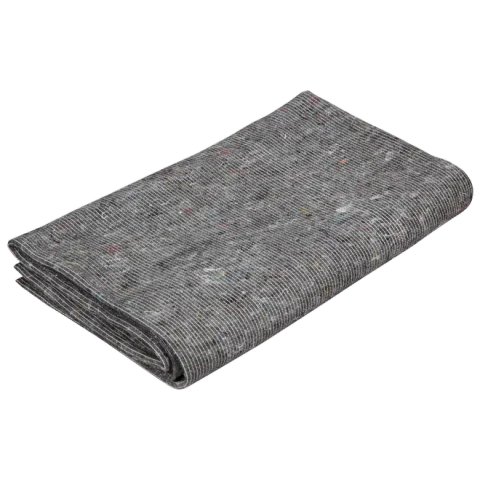
For wooden parts, a clean blanket combined with edge protection and film can be useful. Quantities depend on the dimensions. The product prices below were checked on 13 October 2026; hardware bags, tools and any special fittings are separate.
02 · Prepare the bed

1. Make room and identify the construction.

Remove bedding and the mattress, and clear working space around the bed. Measure the largest parts and doorways. Dismantle only as far as the construction and access require.

Check whether the bed has loose slats, a complete base, drawers, a motor or a lifting mechanism. This guide illustrates ordinary frame components, not every bed design. Springs, gas lifts and electrical parts must be handled according to the manufacturer’s instructions; do not release loaded components on your own.
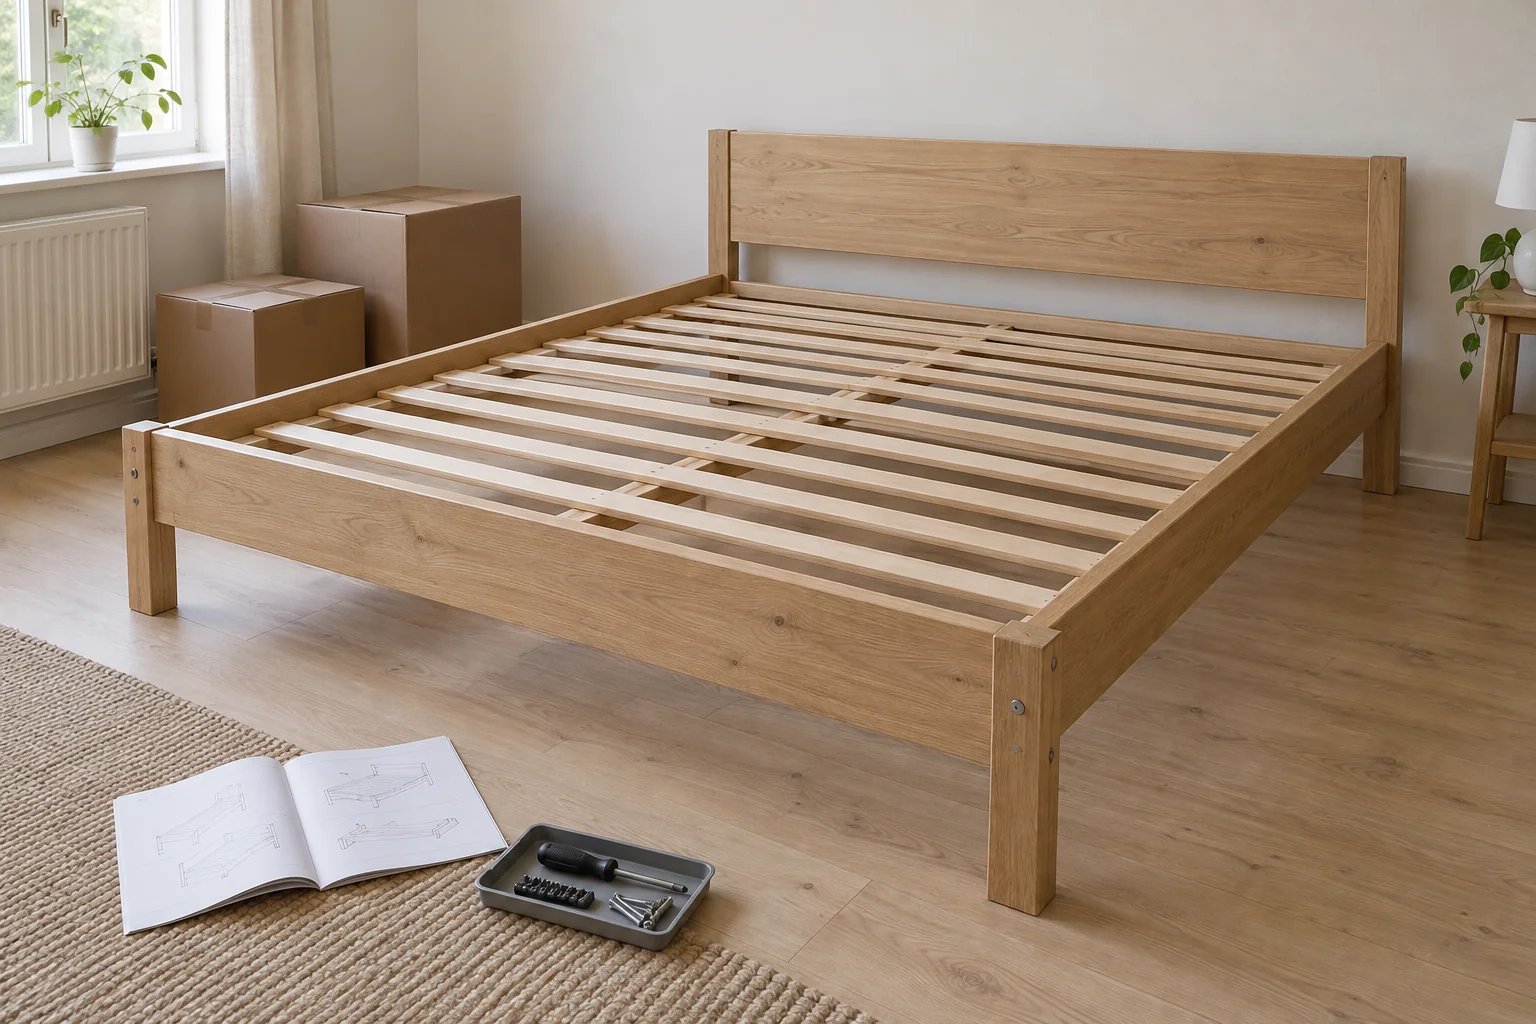
An empty bed frame with slats, instructions and tools ready
Identify the components and locate the correct instructions before starting. The step photos are AI-generated illustrations, not records of a customer job.

03 · Label fittings

2. Follow the instructions and label as you go.

Photograph joints and parts that look alike. Follow the specified order and support each component before releasing its fastenings. Large headboards and long rails often need another person to keep them stable.

Put the fittings from each joint in a separate sealed bag. Number the bags to match your photos and part labels. Write on a removable tie-on label or the outer packaging, not directly on the wood. Keep all bags and the instructions in one small box.
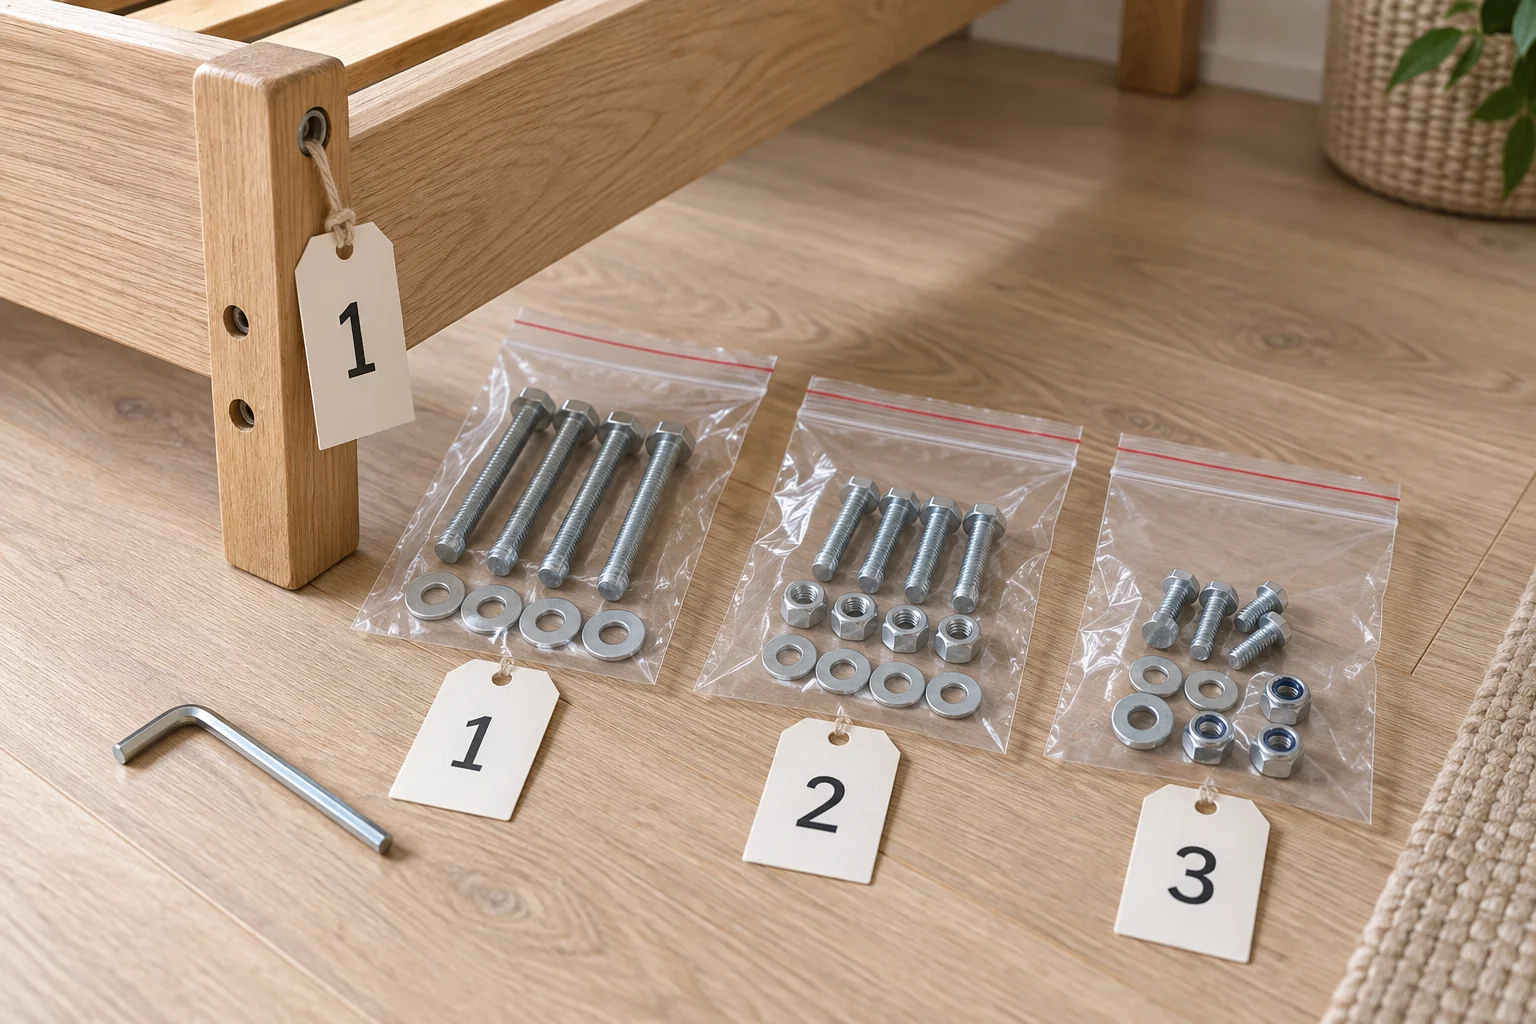
Bed fittings sorted into numbered bags beside a frame
Number fittings and matching parts so they can be found again. This is an example, not hardware for a specific model.

04 · Wrap components

3. Protect the headboard, rails and slats separately.

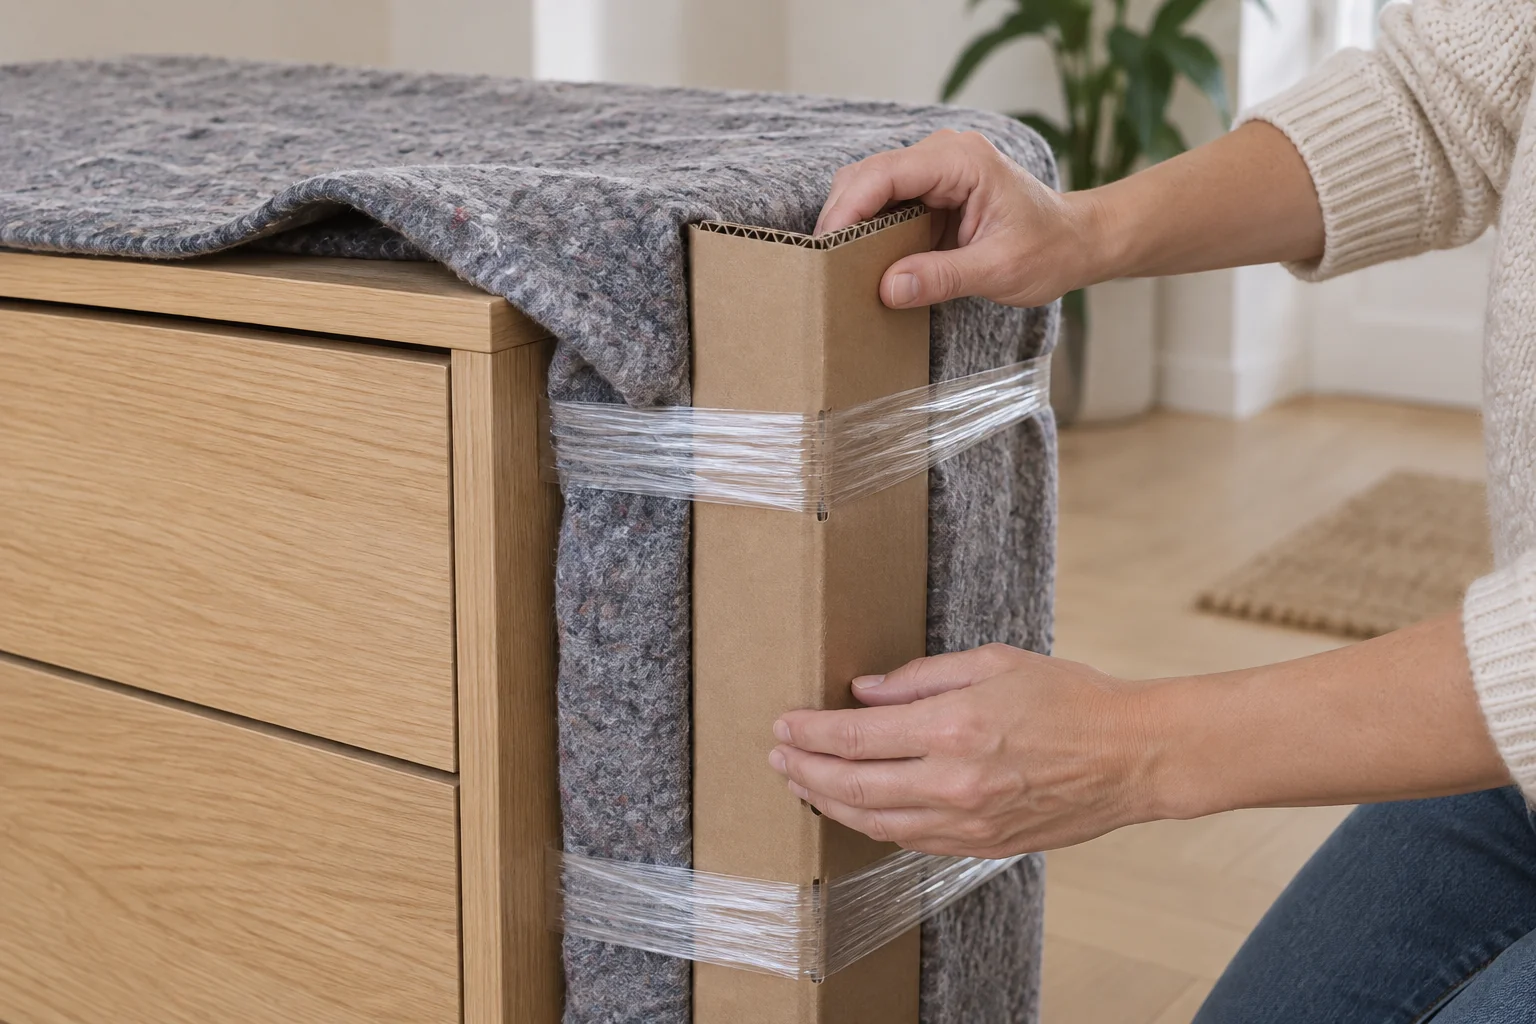
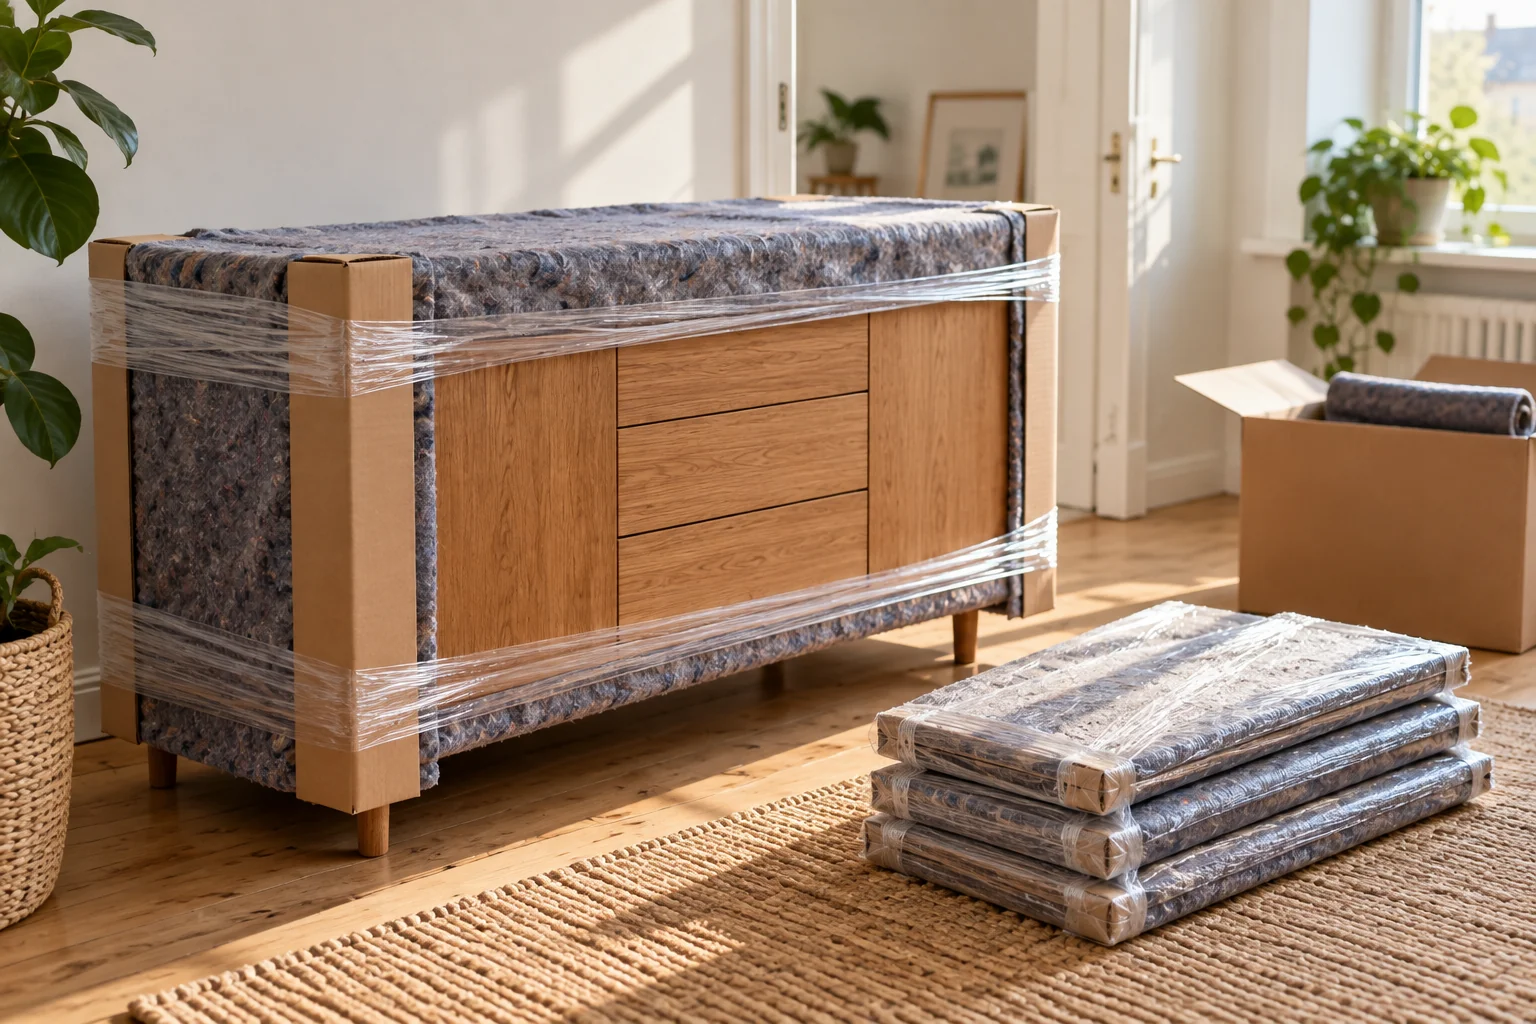
Place components on a clean, soft surface. Protect faces and corners with material compatible with the finish. Wrap long rails separately, or separate them with a soft layer so they cannot rub together.

Group slats into manageable bundles where the construction permits, protecting their ends. A linked slat base needs treatment appropriate to its design. Secure packaging with film or tape applied to the packaging; do not pull it tight enough to bend components.

A headboard, rails and slat bundles laid separately with protected surfaces and ends
Illustrative packed components. Keep the small fittings together beside them.

05 · Plan reassembly

4. Make the bed straightforward to reassemble.

Keep fittings and tools accessible, and label the parts for their destination room. Leave space to put them down on a clean surface. Do not stack heavy boxes on upholstered headboards or narrow frame components.

Use the manufacturer’s assembly sequence and correct fasteners. Damaged fittings, weakened screw holes and missing parts need attention before use. Do not use the bed until the frame and base are correctly assembled and stable.

06 · Teleporter help

Arrange dismantling and assembly in advance.

If you want Teleporter to help, tell the manager the model, dimensions, construction and tasks in advance. A suitable team must be available; this help is not automatically included with every transport booking.

An agreed team brings tools, but you must provide instructions, fittings and any necessary spare parts. Under local per-minute pricing, dismantling, packing and assembly take paid working time. Materials are charged as agreed. If you pack yourself, have the components ready when work begins.

07 · Questions

Questions about packing a bed.

  • Does the entire bed need dismantling?Only where the construction and access make it necessary and feasible. Begin with instructions and measurements; do not force glued or weakened joints apart.
  • Can the fittings stay attached?Follow the design’s instructions. Loose or protruding fittings can fall out or damage adjacent components and need appropriate handling.
  • What about adjustable beds or storage-lift beds?Provide the model beforehand. Electrical parts and loaded lifting mechanisms need a specific assessment and the manufacturer’s instructions.

Ready for moving day?

One final review.

  • The model and instructions have been found.
  • Large parts and access have been measured.
  • Fittings are in sealed, labelled bags.
  • Faces, edges and ends are protected.
  • Reassembly and any help are planned.
Find a vehicle and carrying help

Have a good move — and a good start at your new address.

Back to the blog
From plan to move

Ready for your
next move?

Calculate your price
Go to article

Get Teleporter

Choose your app store.

Welcome credit

GetDKK 100in credit when you sign up.

Open Messenger

Contact Teleporter

Choose language

Dansk

Packing

Pack your bed.
Part by part.

Remove bedding and the mattress, follow the bed instructions and label the fittings. Protect the headboard, rails and slats as separate components.

About 4 min readRead the guide
Published
A bed packed as separate protected components

Remove the mattress and bedding, find the instructions, photograph the joints and dismantle only as the construction permits. Keep fittings in labelled bags and protect the faces and edges of the headboard, rails and slats. Plan reassembly before the parts leave the room.

The essentials, in brief.

  • Follow the instructions for the exact model.
  • Label fittings and parts as you work.
  • Pack the mattress separately from the frame.

01 · What you need

Gather instructions, tools and protection.

Find the instructions for the exact bed, appropriate hand tools, bags for fittings and material to protect the components. Keep your phone ready to photograph connections before loosening them. Pack the mattress separately: its needs differ from the frame.

For wooden parts, a clean blanket combined with edge protection and film can be useful. Quantities depend on the dimensions. The product prices below were checked on 13 October 2026; hardware bags, tools and any special fittings are separate.

02 · Prepare the bed

1. Make room and identify the construction.

Remove bedding and the mattress, and clear working space around the bed. Measure the largest parts and doorways. Dismantle only as far as the construction and access require.

Check whether the bed has loose slats, a complete base, drawers, a motor or a lifting mechanism. This guide illustrates ordinary frame components, not every bed design. Springs, gas lifts and electrical parts must be handled according to the manufacturer’s instructions; do not release loaded components on your own.

An empty bed frame with slats, instructions and tools ready
Identify the components and locate the correct instructions before starting. The step photos are AI-generated illustrations, not records of a customer job.

03 · Label fittings

2. Follow the instructions and label as you go.

Photograph joints and parts that look alike. Follow the specified order and support each component before releasing its fastenings. Large headboards and long rails often need another person to keep them stable.

Put the fittings from each joint in a separate sealed bag. Number the bags to match your photos and part labels. Write on a removable tie-on label or the outer packaging, not directly on the wood. Keep all bags and the instructions in one small box.

Bed fittings sorted into numbered bags beside a frame
Number fittings and matching parts so they can be found again. This is an example, not hardware for a specific model.

04 · Wrap components

3. Protect the headboard, rails and slats separately.

Place components on a clean, soft surface. Protect faces and corners with material compatible with the finish. Wrap long rails separately, or separate them with a soft layer so they cannot rub together.

Group slats into manageable bundles where the construction permits, protecting their ends. A linked slat base needs treatment appropriate to its design. Secure packaging with film or tape applied to the packaging; do not pull it tight enough to bend components.

A headboard, rails and slat bundles laid separately with protected surfaces and ends
Illustrative packed components. Keep the small fittings together beside them.

05 · Plan reassembly

4. Make the bed straightforward to reassemble.

Keep fittings and tools accessible, and label the parts for their destination room. Leave space to put them down on a clean surface. Do not stack heavy boxes on upholstered headboards or narrow frame components.

Use the manufacturer’s assembly sequence and correct fasteners. Damaged fittings, weakened screw holes and missing parts need attention before use. Do not use the bed until the frame and base are correctly assembled and stable.

06 · Teleporter help

Arrange dismantling and assembly in advance.

If you want Teleporter to help, tell the manager the model, dimensions, construction and tasks in advance. A suitable team must be available; this help is not automatically included with every transport booking.

An agreed team brings tools, but you must provide instructions, fittings and any necessary spare parts. Under local per-minute pricing, dismantling, packing and assembly take paid working time. Materials are charged as agreed. If you pack yourself, have the components ready when work begins.

07 · Questions

Questions about packing a bed.

  • Does the entire bed need dismantling?Only where the construction and access make it necessary and feasible. Begin with instructions and measurements; do not force glued or weakened joints apart.
  • Can the fittings stay attached?Follow the design’s instructions. Loose or protruding fittings can fall out or damage adjacent components and need appropriate handling.
  • What about adjustable beds or storage-lift beds?Provide the model beforehand. Electrical parts and loaded lifting mechanisms need a specific assessment and the manufacturer’s instructions.

Ready for moving day?

One final review.

  • The model and instructions have been found.
  • Large parts and access have been measured.
  • Fittings are in sealed, labelled bags.
  • Faces, edges and ends are protected.
  • Reassembly and any help are planned.
Find a vehicle and carrying help

Have a good move — and a good start at your new address.

Back to the blog
From a good plan
to a good move.