

Packing
A large wardrobe.
Does it need dismantling?
Know when to consider dismantling a wardrobe, what you need to prepare and how to arrange disassembly and reassembly help.
A wardrobe does not always need dismantling, but its size, construction and access may make it necessary. Clarify this before moving day. Teleporter can arrange a suitable team for disassembly and reassembly by agreement; this is not automatically included with every booking.
The essentials, in brief.
- Clarify the need before booking.
- The customer supplies instructions and fittings.
- Agreed assembly work counts towards the task time.
01 · Start with construction and access
Start with construction and access
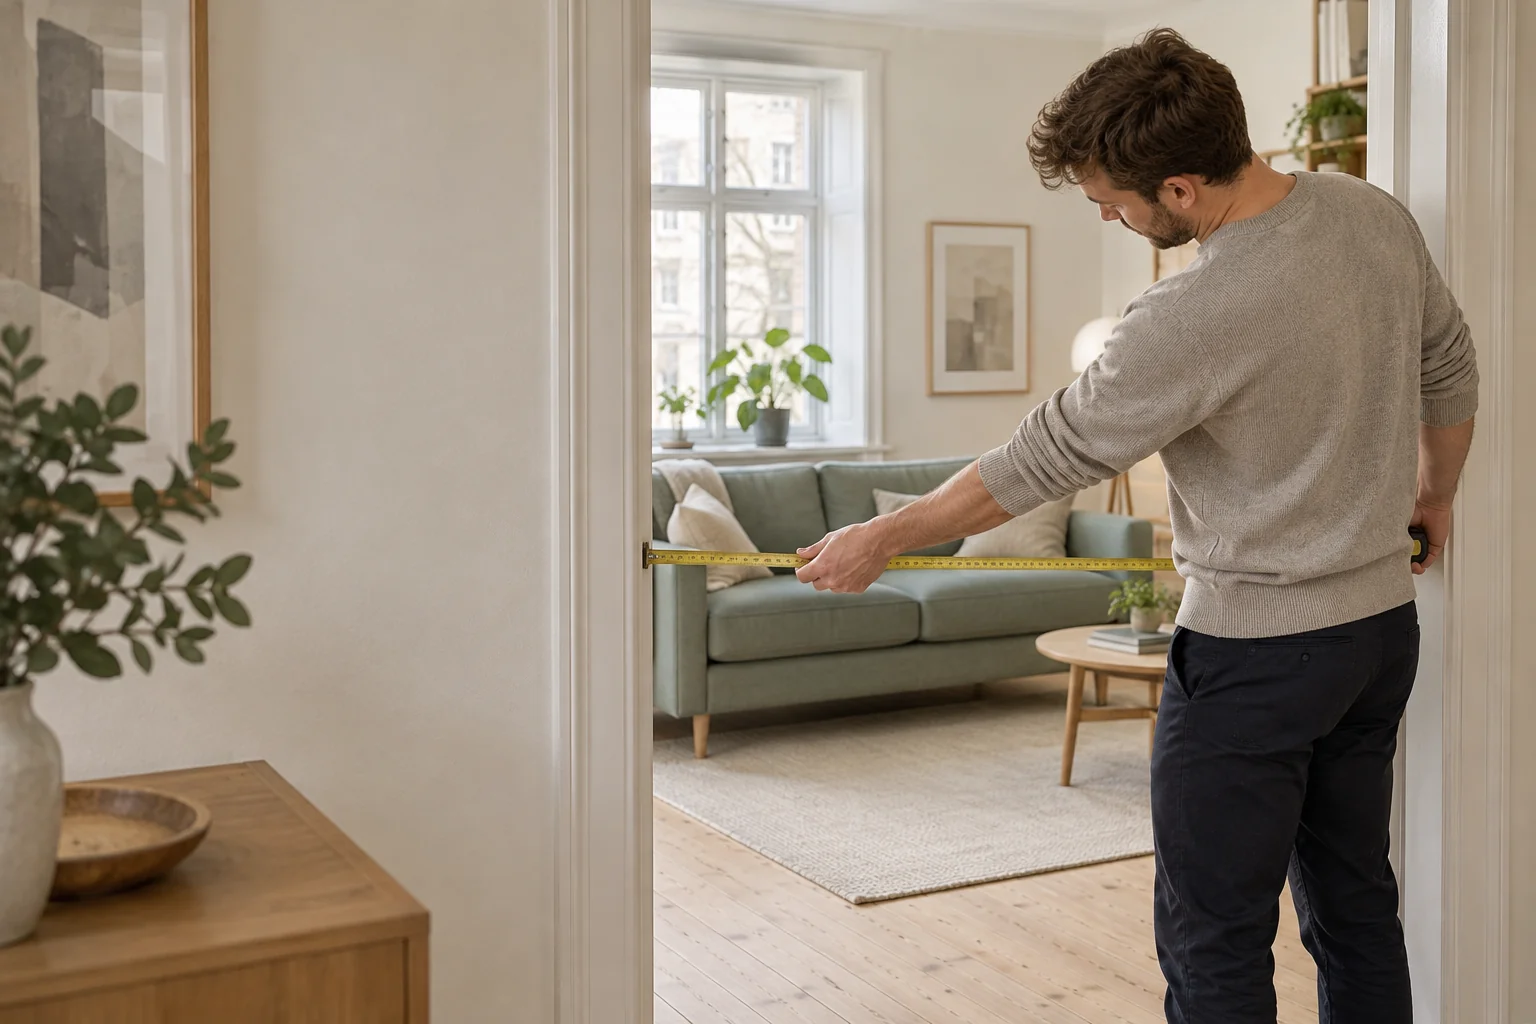
Find the wardrobe's model and assembly instructions. Measure the wardrobe, doors and difficult staircase sections. Consider its weight and whether it is fixed to a wall or ceiling. Tell support if you do not know how it is secured.
Furniture may be designed to stand assembled but not to be moved fully loaded. Empty it and identify loose shelves or glass components. Follow the specific instructions instead of assuming every wardrobe tolerates the same dismantling method.
02 · What does the team bring?
What does the team bring?
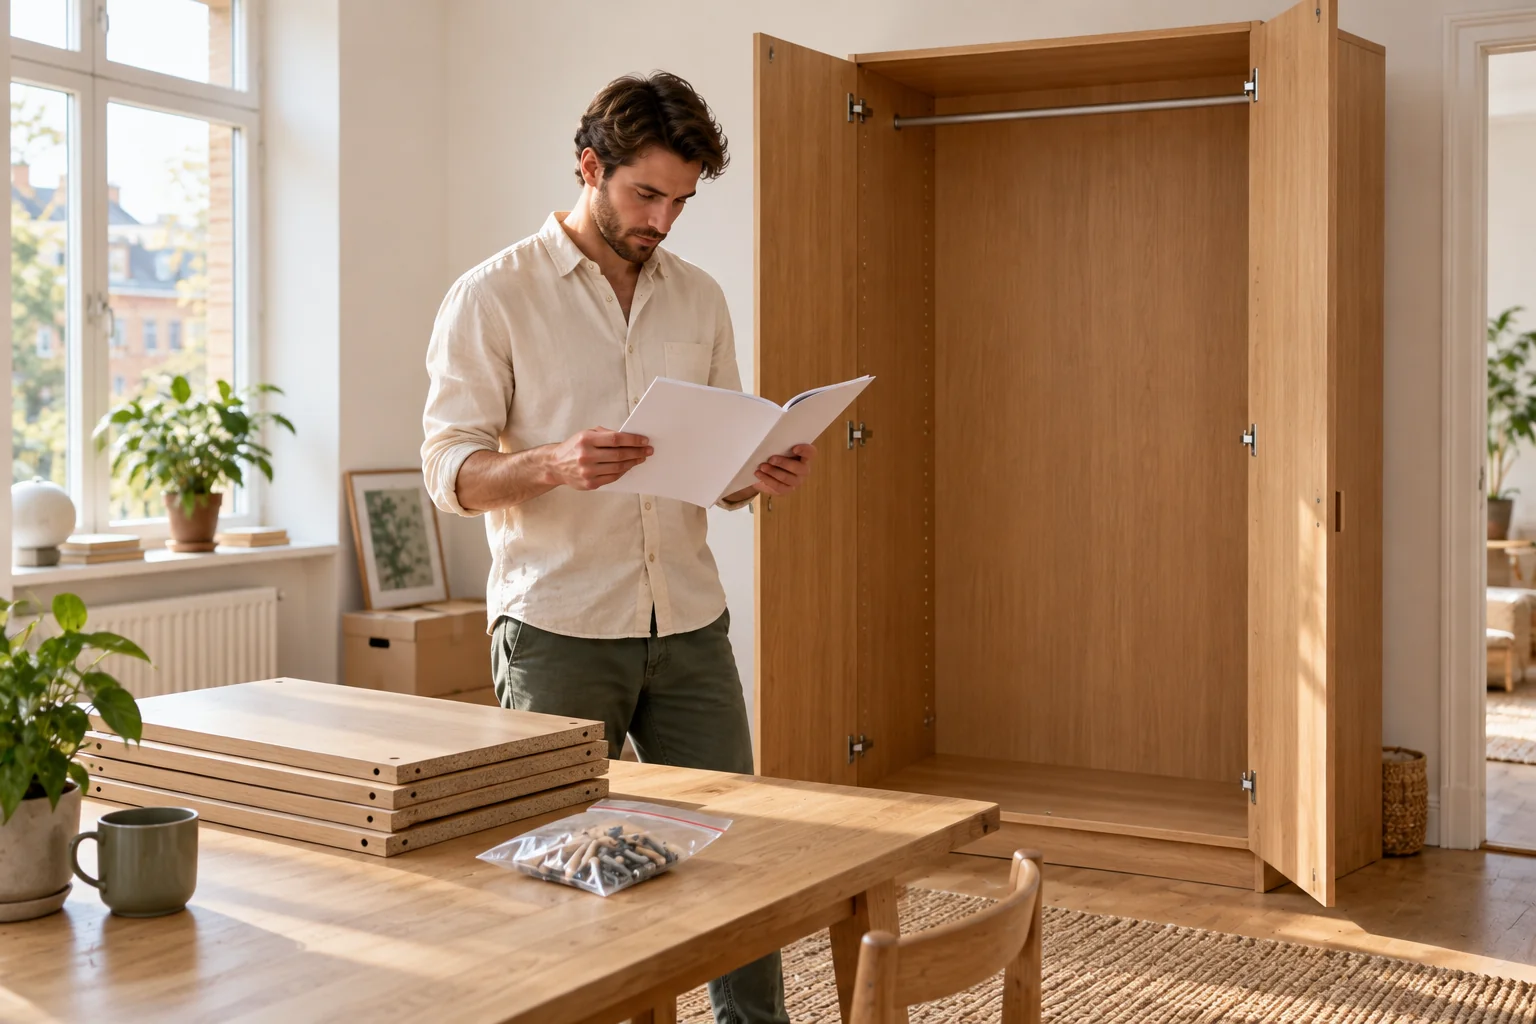
When the job is agreed, the appropriate team members bring their tools. The customer must have instructions, fittings and other necessary parts ready. Having tools does not mean the team carries replacement parts for your particular wardrobe.
Send photos and model details early, especially for large wardrobes. Ask support to confirm a suitable team at your requested time. Writing 'assembly' in a comment does not itself confirm availability.
03 · Assembly at the new address
Assembly at the new address
State whether the job ends with transport or includes reassembly and possibly fixing the wardrobe in place. Wall or ceiling fixing must be agreed separately so the right people and preparations are available.
On a local per-minute job, time spent on agreed work is included in billing. Clear the new location and keep labelled fittings with the instructions. Missing parts or unclear requests can cause additional waiting.
Ready for moving day?
One final review.
- Find the model and manual.
- Empty the wardrobe and gather loose parts.
- Send photos of fixings and access.
- Arrange assembly and any wall fixing.
Have a good move — and a good start at your new address.
Back to the blog