

A wardrobe packed as protected, labelled components

Packing

Pack your wardrobe.
Protect every part.

Empty the wardrobe and check whether it can be dismantled. Label fittings, doors and shelves, then protect each part. Assess mirrors and glass separately.

Calculate your price
About 5 min readRead the guide
Published

Empty the wardrobe and first decide whether it needs to, and can, come apart. Follow the instructions for the exact model. Label parts and fittings, protect every face and edge, and pack doors and shelves separately. Mirrors and glass need an individual assessment before moving day.

The essentials, in brief.

  • Decide whether disassembly is suitable before starting.
  • Label the wrapping; keep adhesive off bare furniture.
  • Arrange handling of glass and mirrors in advance.

01 · Before starting

Does the whole wardrobe need to come apart?

Measure the wardrobe and access at both addresses. A small, stable cabinet may travel assembled, while a large wardrobe may need disassembly. Its construction, weight and manufacturer instructions determine what is suitable. Glued joints may not come apart, and repeated dismantling can weaken fittings and panels.

Find the model, assembly guide and details of its connections. Check whether the back panel provides structural support and how the wardrobe is anchored. Do not remove restraints while the furniture lacks adequate support. Have an unstable or damaged structure assessed first.

02 · Materials

Use a soft layer and reinforce the edges.

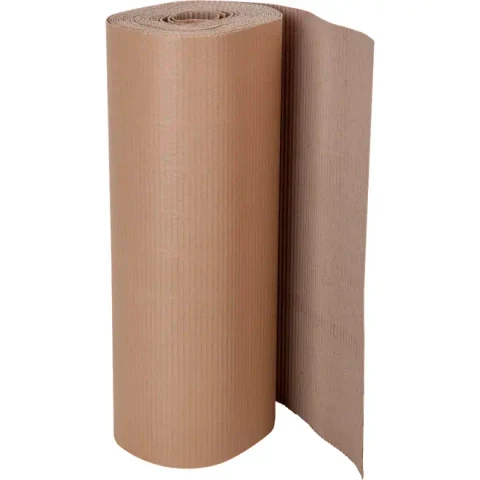
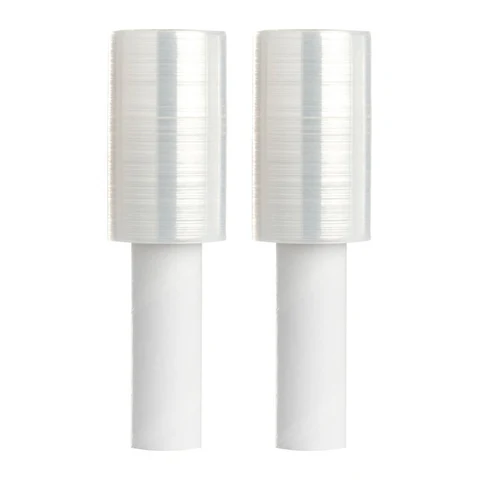
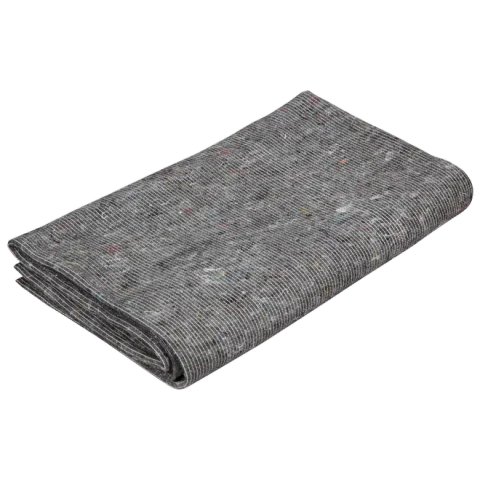
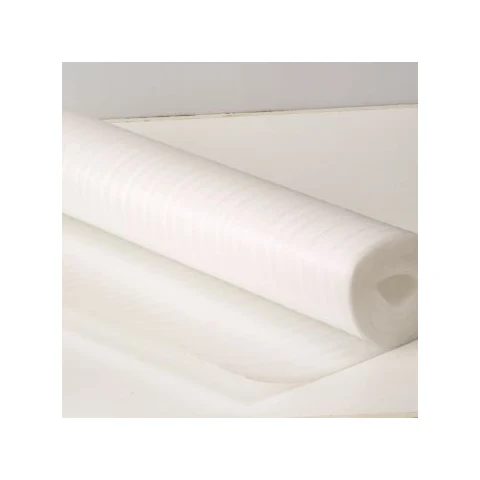
Foam wrap or a clean moving blanket separates sensitive surfaces. Cardboard protects edges, while stretch film can hold outer packaging in place. Choose contact materials suitable for the finish. Tape belongs on the wrapping, never directly on the furniture.

A large wardrobe needs more material than a small roll. Measure panels and allow for overlap. Prices are indicative, checked on 13 October 2026, and may change. These products are examples, not a complete shopping list for every wardrobe.
03 · Empty and label

1. Empty it and record the connections.

Remove all contents. Photograph shelves, hinges, rails and connections before undoing anything. Give matching components simple corresponding numbers on their protective wrapping.

Put fittings and shelf supports in closed, labelled bags. Keep the bags with the instructions in a small box, separating different types of hardware. Loose screws left inside can scratch surfaces or get lost.
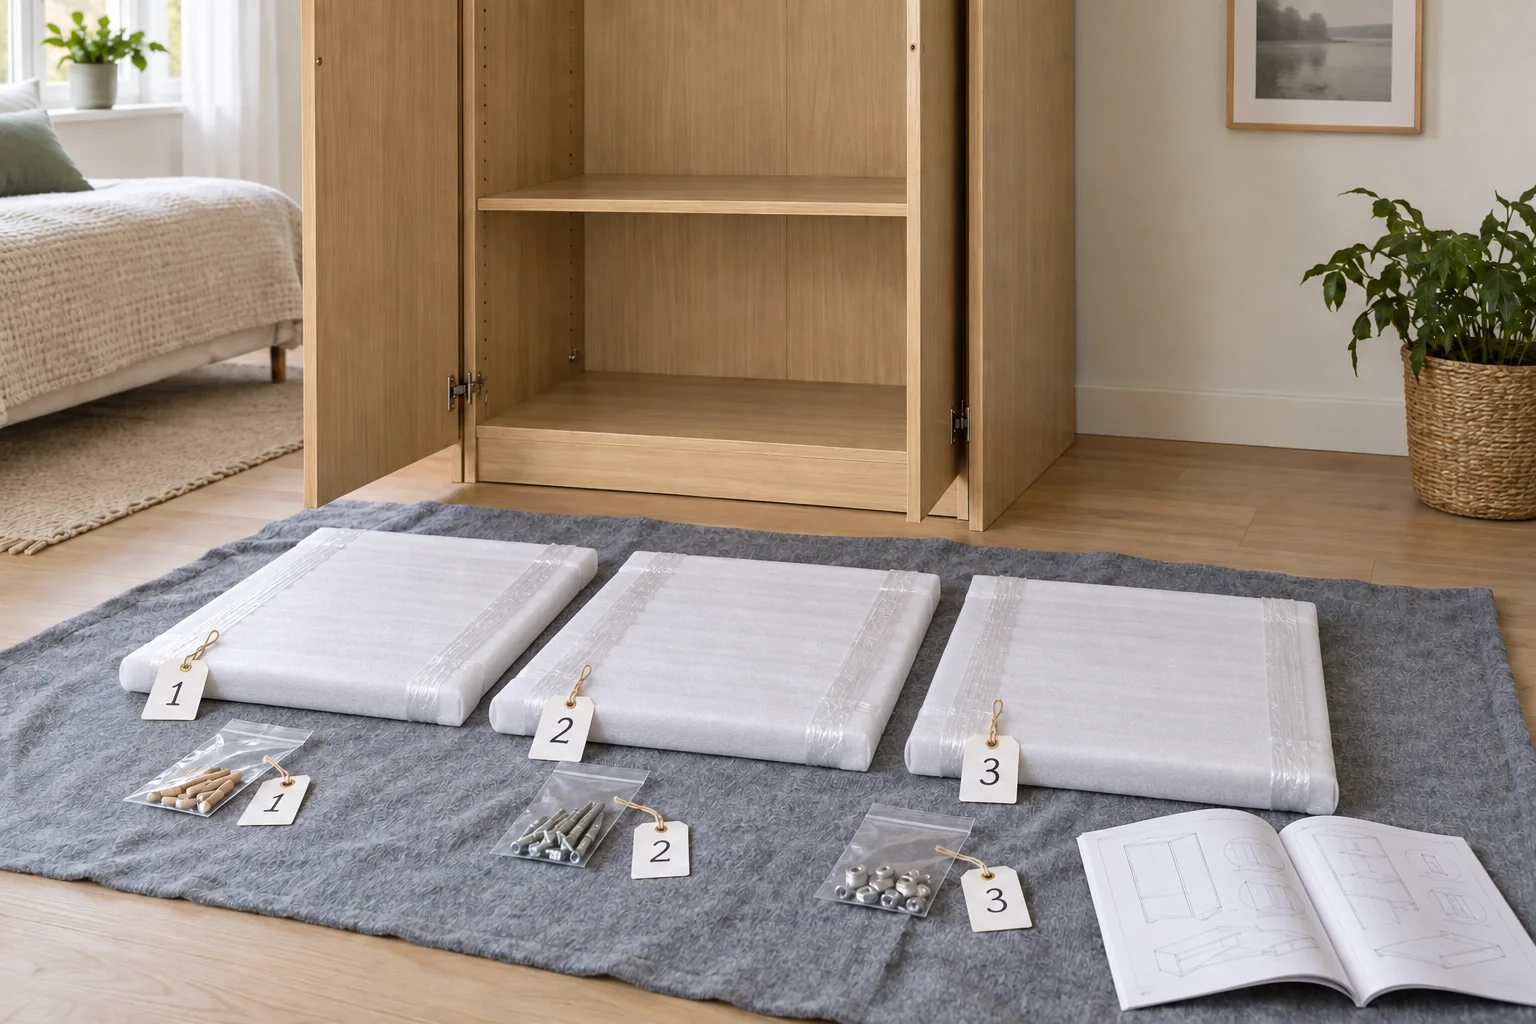
Protected wardrobe shelves with numbered labels and separate bags of fittings
Keep the labels and fittings consistent from disassembly through reassembly. The step photos are AI-generated illustrations, not records of a customer job.

04 · Remove parts

2. Follow the model and support each part.

Use a sequence permitted by the manufacturer. Have someone support large doors before releasing hinges or rails. Remove detachable shelves and protect them straight away instead of leaving bare panels in the work area.

Do not force glued joints apart. A thin back panel may be fragile and structurally important. Photograph and follow its particular fixing method rather than pulling it off. Electrical parts and special mechanisms need their own model instructions.

05 · Protect surfaces

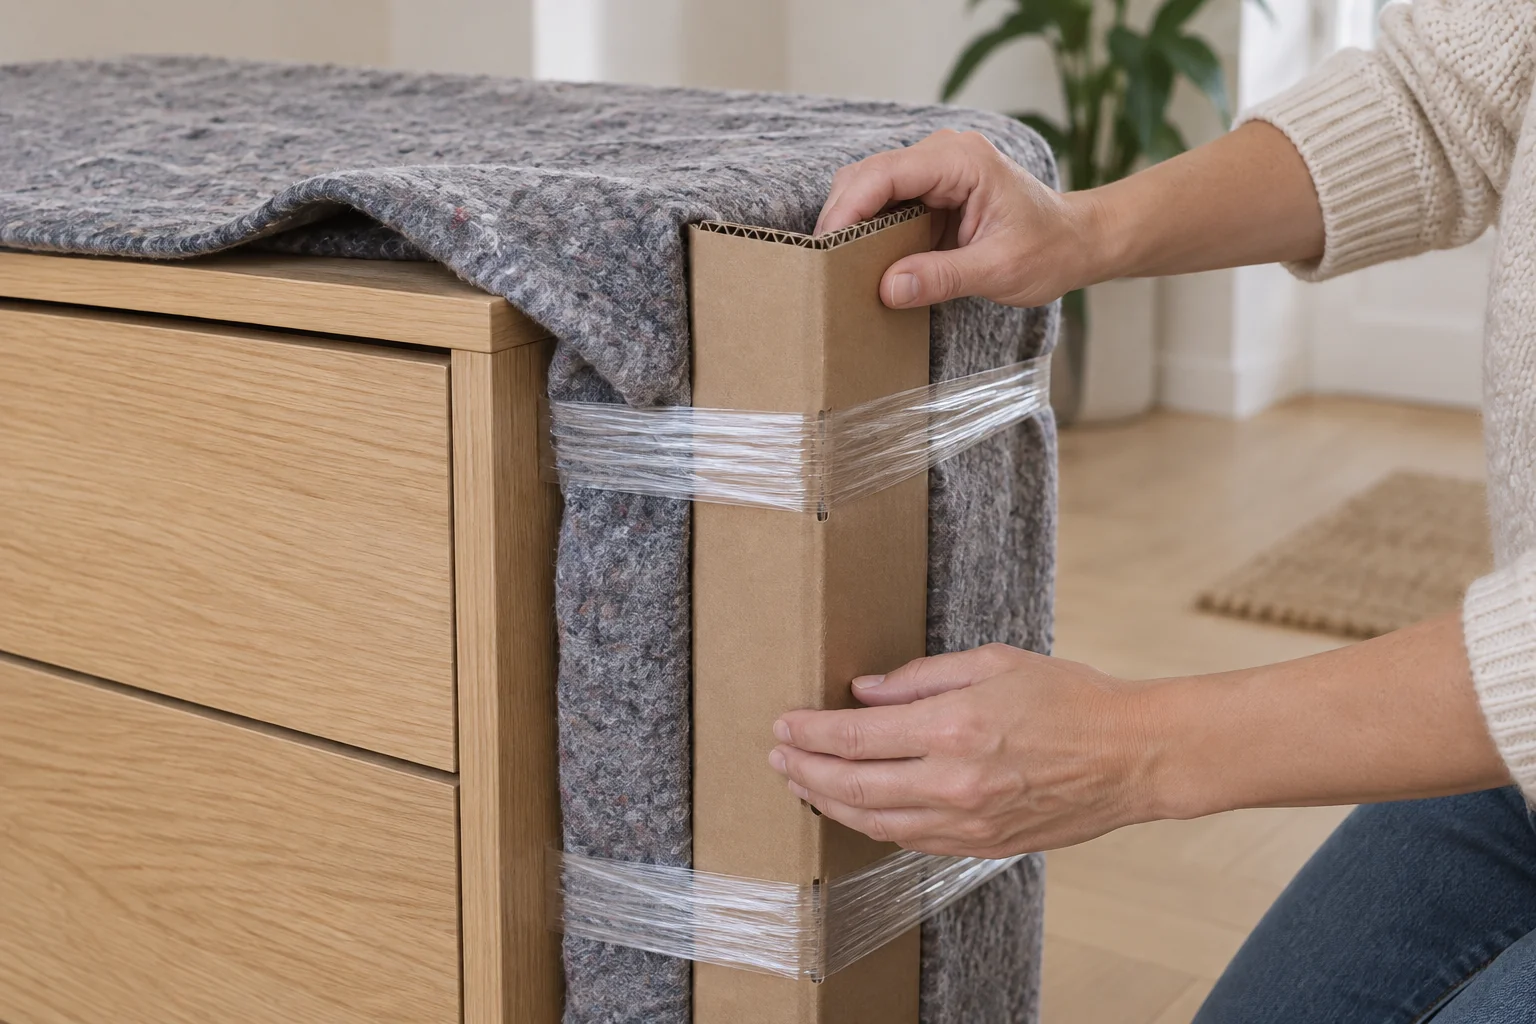
3. Wrap faces, edges and corners separately.

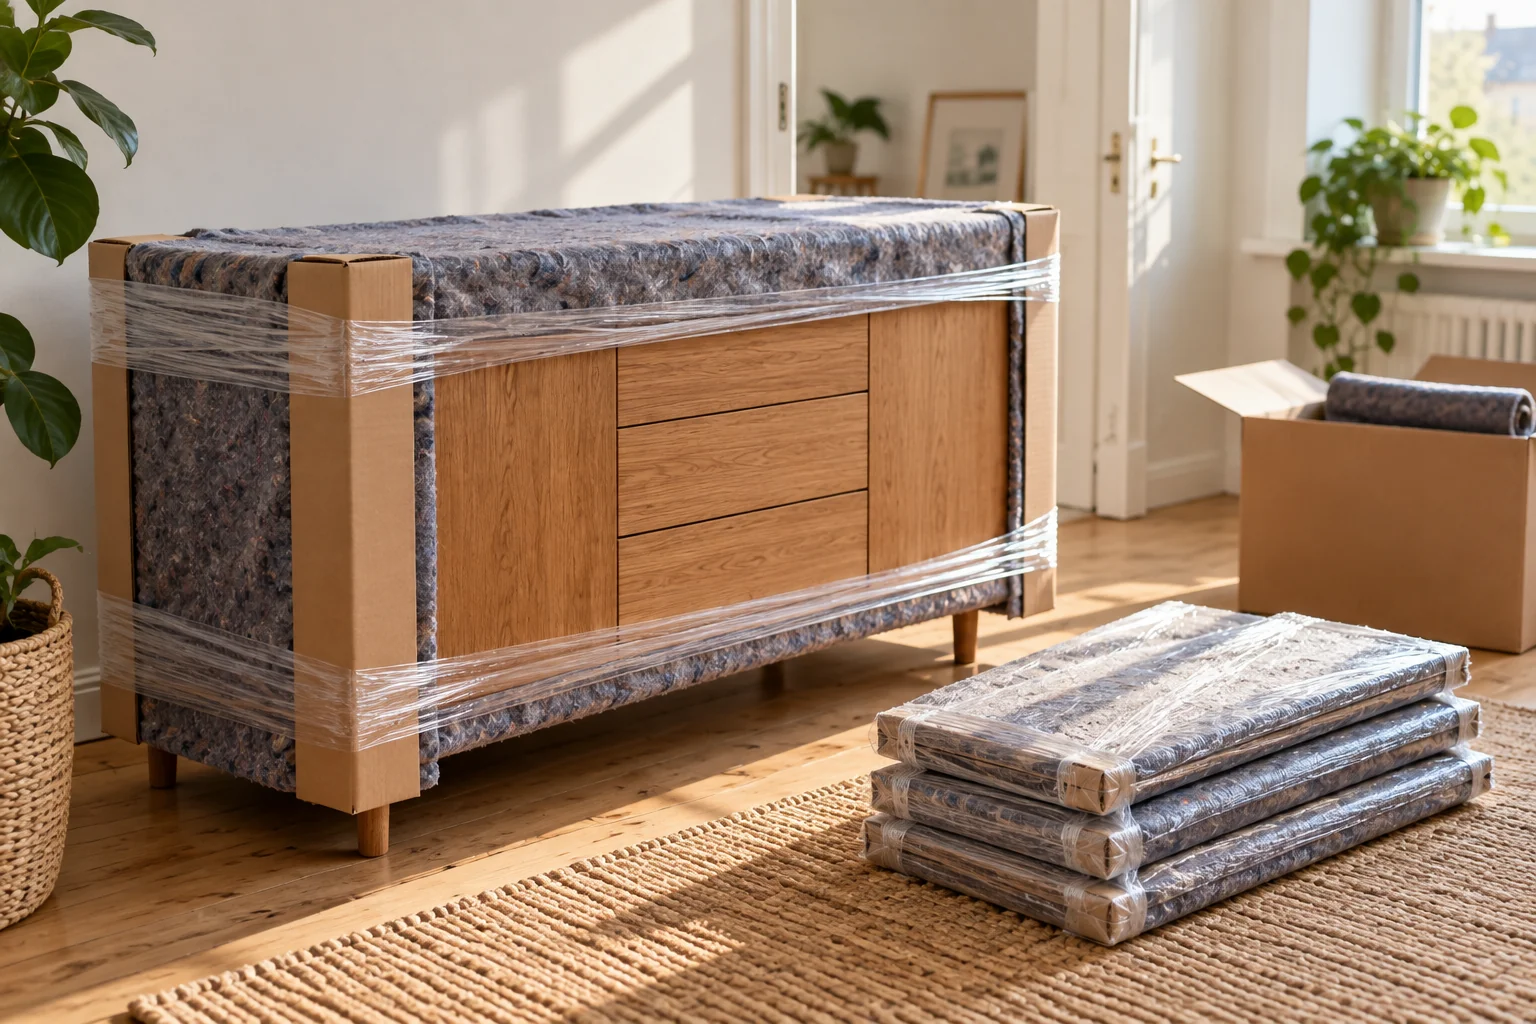
Place each part on a clean, soft surface. Cover its whole face with a suitable protective layer, then reinforce corners and edges. The photo shows corner protection in progress; the rest of the panel must also be covered before transport.

Hold the protection in place without distorting the panel. Do not let bare panels rub together. Support long parts against bending, and keep screws or fittings from pressing through the wrapping.
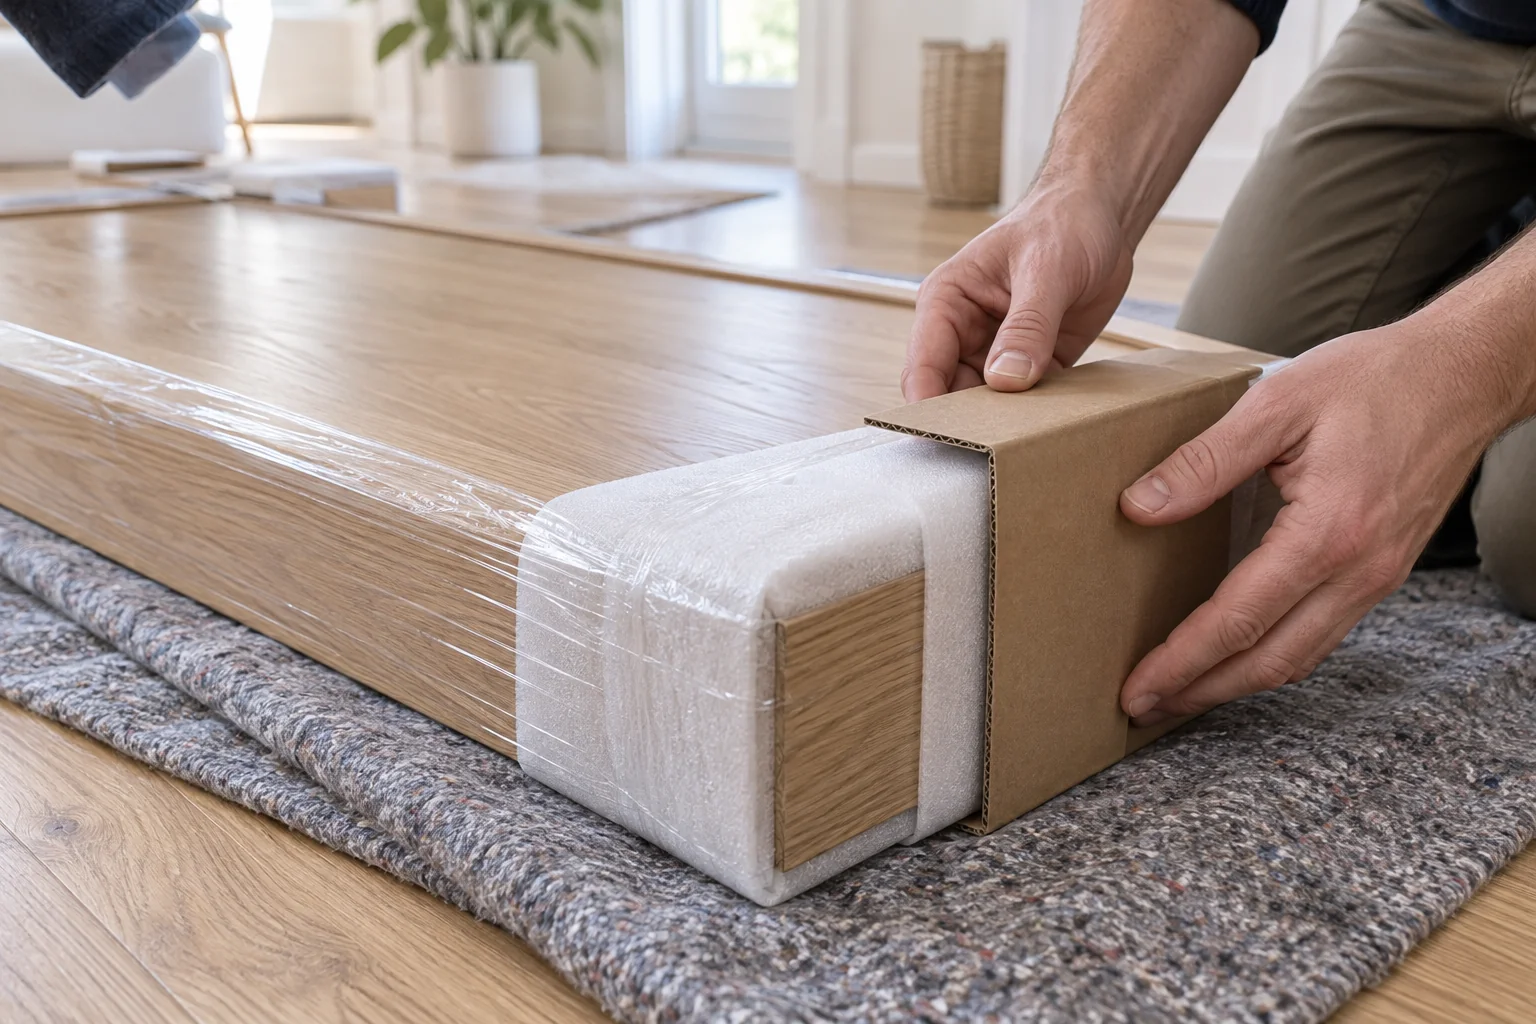
Cardboard is fitted over padding at the corner of a wardrobe panel
Reinforce corners and edges, then finish covering the remaining surfaces.

06 · Organise parts

4. Keep doors, shelves and fittings identifiable.

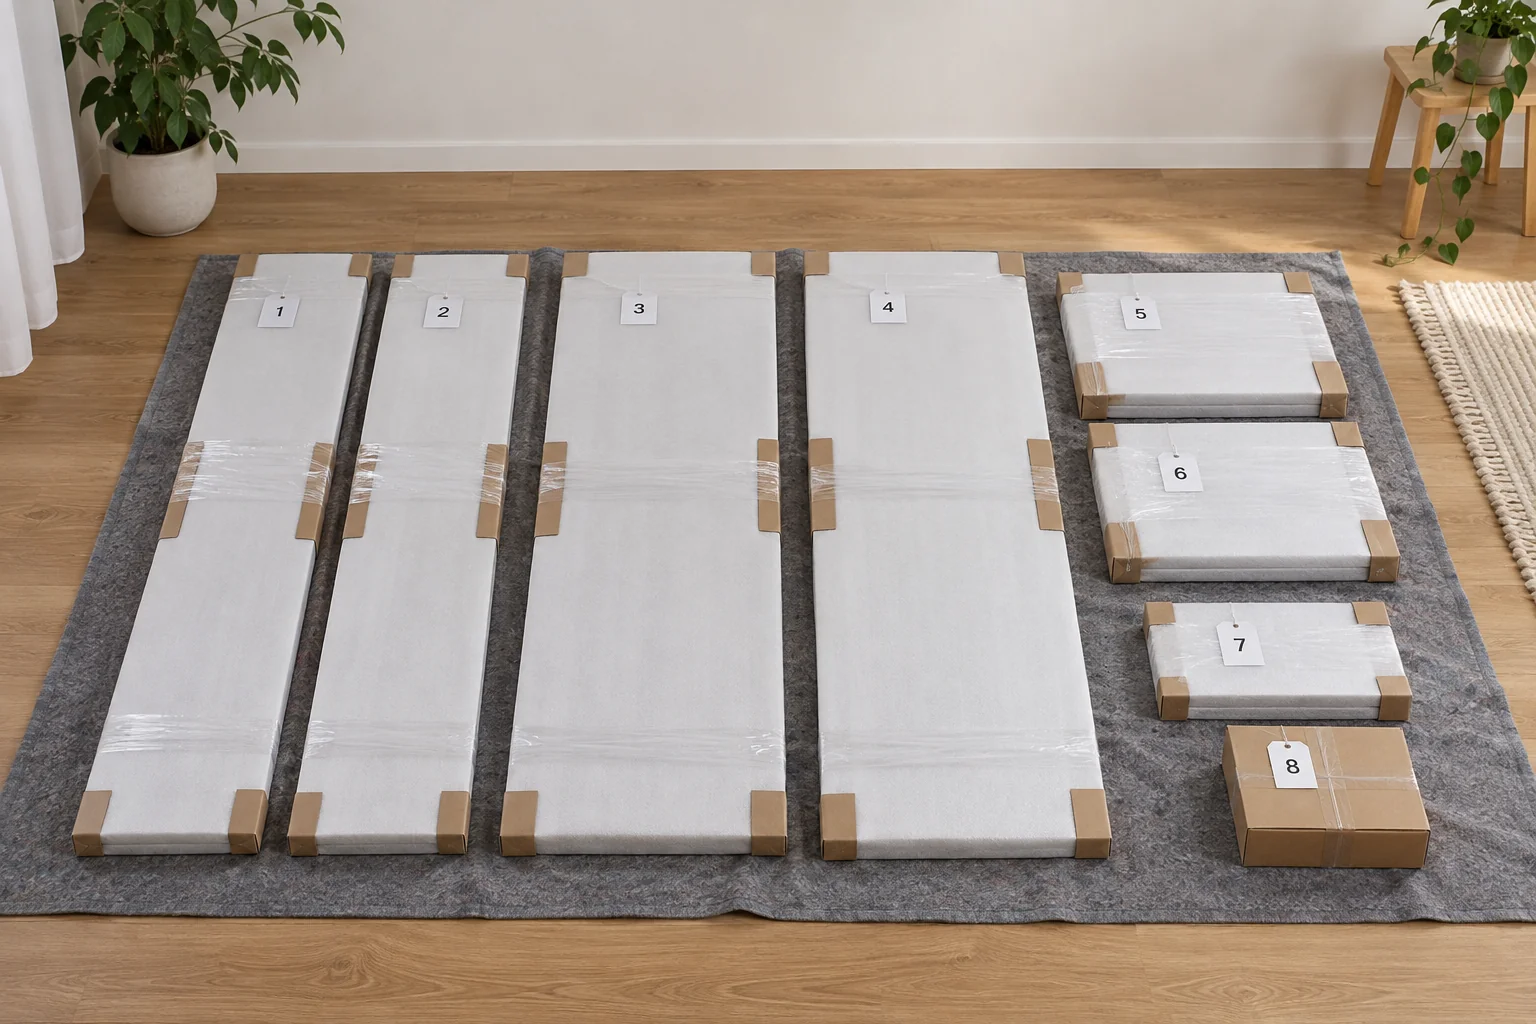
Label finished packages with the wardrobe and part number. Group small, protected shelves only while the bundle remains manageable. Keep large doors and sides manageable separately, and do not leave them leaning unsupported in a walkway.

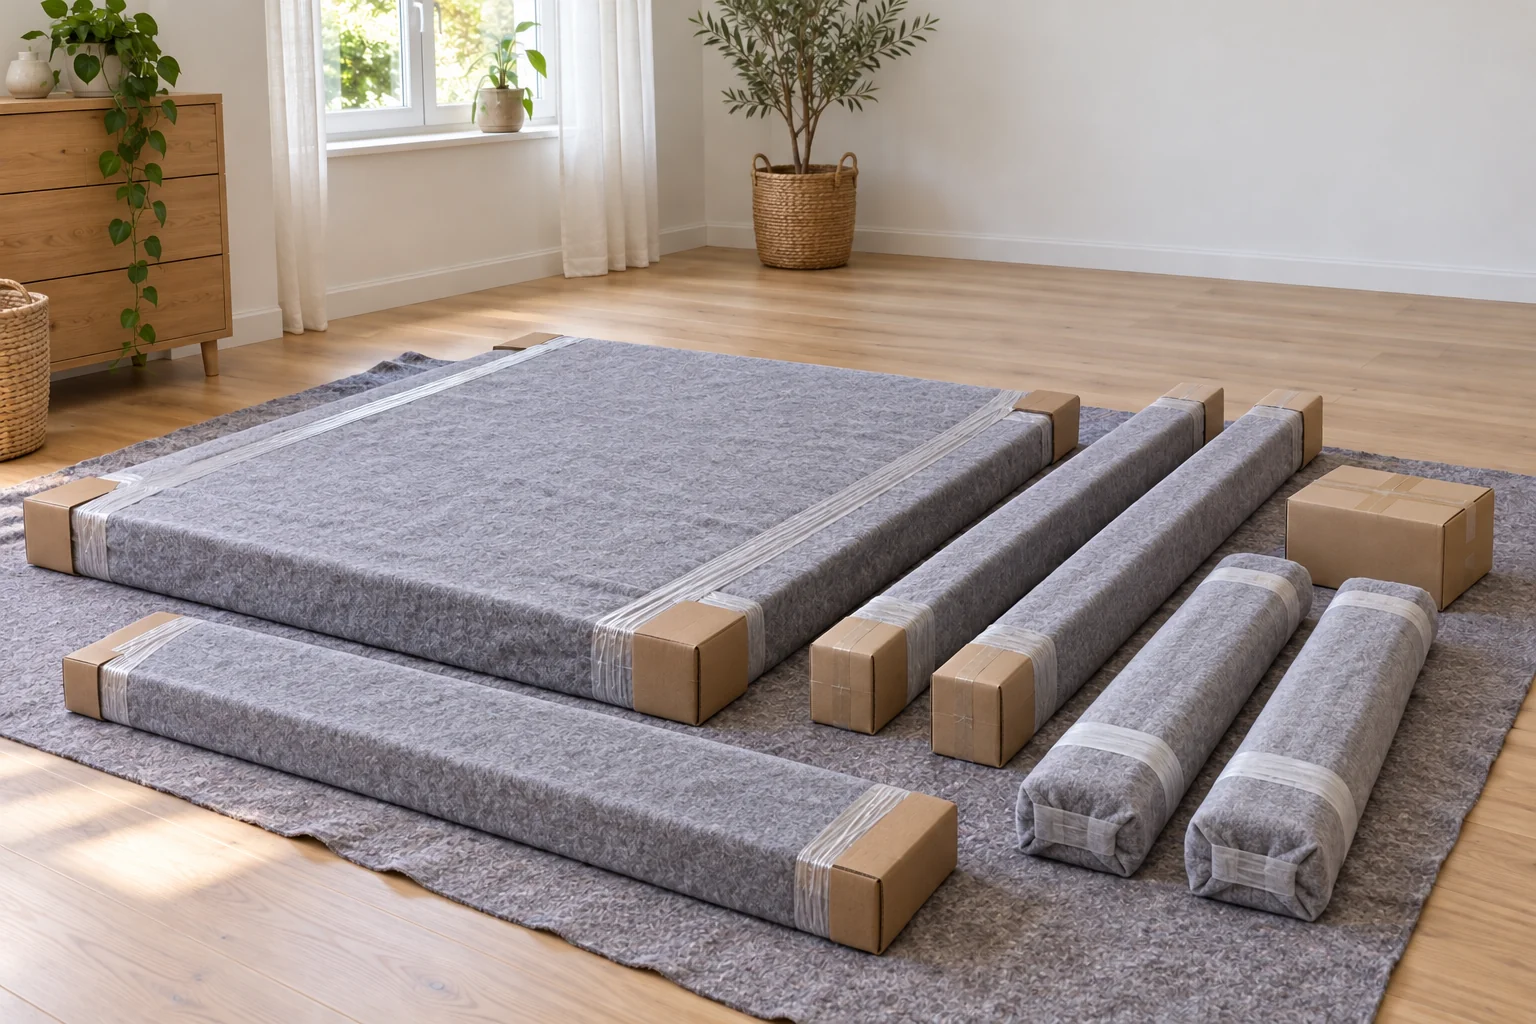
Tell the team which parts are delicate and where they can be supported. The photo shows an organised temporary layout on the floor, not a vehicle stacking or load-securing method. The driver must plan positioning and restraint for the actual components.

Wrapped wardrobe sides, doors and shelves laid out with labels and a fittings box
Protected and labelled parts are easier to identify on arrival.

07 · Mirrors and glass

A mirrored door needs its own plan.

Disclose mirrors, glass doors and large glass panels beforehand. Send dimensions and photographs to the manager so suitable packaging, support and people can be assessed. A standard blanket-and-film wrap is not automatically enough for a large glass element.

Do not stack heavy panels on glass or try to remove a bonded mirror yourself. If the task needs specialist packaging or skills unavailable to the agreed team, another solution is needed before transport.

08 · Help and reassembly

Arrange dismantling and assembly in advance.

Teleporter can help with packing and disassembly by prior agreement with the manager and subject to a suitable team being available. Describe the wardrobe, dimensions, access and glass elements. Follow up an order comment when you need particular skills.

The agreed team brings tools. You must provide instructions, fittings and any necessary replacement parts. Wall or ceiling fixing also needs advance agreement. For a local per-minute booking, agreed packing and assembly count as working time; materials are charged as agreed.

09 · Questions

Questions about wardrobe packing.

  • Can clothes stay inside?Empty the wardrobe before preparation and transport. Contents add weight and can shift or put pressure on shelves and doors.
  • Can every flat-pack wardrobe be dismantled again?No. It depends on its construction, joints and condition. Follow the model instructions and get help if the connections cannot be safely released.
  • Is film alone enough for the doors?Film holds packaging together but provides little protection against impacts or pressure. Choose suitable cushioning and reinforce edges.

Ready for moving day?

One final review.

  • Construction and access have been assessed.
  • Contents and loose parts have been removed.
  • Instructions, photographs and fittings are together.
  • Faces, edges and corners are protected.
  • Glass, reassembly and anchoring are agreed where needed.
Find a vehicle and carrying help

Have a good move — and a good start at your new address.

Back to the blog
From plan to move

Ready for your
next move?

Calculate your price
Go to article

Get Teleporter

Choose your app store.

Welcome credit

GetDKK 100in credit when you sign up.

Open Messenger

Contact Teleporter

Choose language

Dansk

Packing

Pack your wardrobe.
Protect every part.

Empty the wardrobe and check whether it can be dismantled. Label fittings, doors and shelves, then protect each part. Assess mirrors and glass separately.

About 5 min readRead the guide
Published
A wardrobe packed as protected, labelled components

Empty the wardrobe and first decide whether it needs to, and can, come apart. Follow the instructions for the exact model. Label parts and fittings, protect every face and edge, and pack doors and shelves separately. Mirrors and glass need an individual assessment before moving day.

The essentials, in brief.

  • Decide whether disassembly is suitable before starting.
  • Label the wrapping; keep adhesive off bare furniture.
  • Arrange handling of glass and mirrors in advance.

01 · Before starting

Does the whole wardrobe need to come apart?

Measure the wardrobe and access at both addresses. A small, stable cabinet may travel assembled, while a large wardrobe may need disassembly. Its construction, weight and manufacturer instructions determine what is suitable. Glued joints may not come apart, and repeated dismantling can weaken fittings and panels.

Find the model, assembly guide and details of its connections. Check whether the back panel provides structural support and how the wardrobe is anchored. Do not remove restraints while the furniture lacks adequate support. Have an unstable or damaged structure assessed first.

02 · Materials

Use a soft layer and reinforce the edges.

Foam wrap or a clean moving blanket separates sensitive surfaces. Cardboard protects edges, while stretch film can hold outer packaging in place. Choose contact materials suitable for the finish. Tape belongs on the wrapping, never directly on the furniture.

A large wardrobe needs more material than a small roll. Measure panels and allow for overlap. Prices are indicative, checked on 13 October 2026, and may change. These products are examples, not a complete shopping list for every wardrobe.

03 · Empty and label

1. Empty it and record the connections.

Remove all contents. Photograph shelves, hinges, rails and connections before undoing anything. Give matching components simple corresponding numbers on their protective wrapping.

Put fittings and shelf supports in closed, labelled bags. Keep the bags with the instructions in a small box, separating different types of hardware. Loose screws left inside can scratch surfaces or get lost.

Protected wardrobe shelves with numbered labels and separate bags of fittings
Keep the labels and fittings consistent from disassembly through reassembly. The step photos are AI-generated illustrations, not records of a customer job.

04 · Remove parts

2. Follow the model and support each part.

Use a sequence permitted by the manufacturer. Have someone support large doors before releasing hinges or rails. Remove detachable shelves and protect them straight away instead of leaving bare panels in the work area.

Do not force glued joints apart. A thin back panel may be fragile and structurally important. Photograph and follow its particular fixing method rather than pulling it off. Electrical parts and special mechanisms need their own model instructions.

05 · Protect surfaces

3. Wrap faces, edges and corners separately.

Place each part on a clean, soft surface. Cover its whole face with a suitable protective layer, then reinforce corners and edges. The photo shows corner protection in progress; the rest of the panel must also be covered before transport.

Hold the protection in place without distorting the panel. Do not let bare panels rub together. Support long parts against bending, and keep screws or fittings from pressing through the wrapping.

Cardboard is fitted over padding at the corner of a wardrobe panel
Reinforce corners and edges, then finish covering the remaining surfaces.

06 · Organise parts

4. Keep doors, shelves and fittings identifiable.

Label finished packages with the wardrobe and part number. Group small, protected shelves only while the bundle remains manageable. Keep large doors and sides manageable separately, and do not leave them leaning unsupported in a walkway.

Tell the team which parts are delicate and where they can be supported. The photo shows an organised temporary layout on the floor, not a vehicle stacking or load-securing method. The driver must plan positioning and restraint for the actual components.

Wrapped wardrobe sides, doors and shelves laid out with labels and a fittings box
Protected and labelled parts are easier to identify on arrival.

07 · Mirrors and glass

A mirrored door needs its own plan.

Disclose mirrors, glass doors and large glass panels beforehand. Send dimensions and photographs to the manager so suitable packaging, support and people can be assessed. A standard blanket-and-film wrap is not automatically enough for a large glass element.

Do not stack heavy panels on glass or try to remove a bonded mirror yourself. If the task needs specialist packaging or skills unavailable to the agreed team, another solution is needed before transport.

08 · Help and reassembly

Arrange dismantling and assembly in advance.

Teleporter can help with packing and disassembly by prior agreement with the manager and subject to a suitable team being available. Describe the wardrobe, dimensions, access and glass elements. Follow up an order comment when you need particular skills.

The agreed team brings tools. You must provide instructions, fittings and any necessary replacement parts. Wall or ceiling fixing also needs advance agreement. For a local per-minute booking, agreed packing and assembly count as working time; materials are charged as agreed.

09 · Questions

Questions about wardrobe packing.

  • Can clothes stay inside?Empty the wardrobe before preparation and transport. Contents add weight and can shift or put pressure on shelves and doors.
  • Can every flat-pack wardrobe be dismantled again?No. It depends on its construction, joints and condition. Follow the model instructions and get help if the connections cannot be safely released.
  • Is film alone enough for the doors?Film holds packaging together but provides little protection against impacts or pressure. Choose suitable cushioning and reinforce edges.

Ready for moving day?

One final review.

  • Construction and access have been assessed.
  • Contents and loose parts have been removed.
  • Instructions, photographs and fittings are together.
  • Faces, edges and corners are protected.
  • Glass, reassembly and anchoring are agreed where needed.
Find a vehicle and carrying help

Have a good move — and a good start at your new address.

Back to the blog
From a good plan
to a good move.